Did you know that over 400,000 emergency room visits annually are due to home repair-related injuries, many of which could be prevented with a proper safe repair environment setup for residential properties? Undertaking DIY projects or even professional repairs in your home doesn’t have to be a gamble with your well-being. Creating a secure workspace is not just a recommendation; it’s an essential foundation for any successful and injury-free project. This comprehensive guide will walk you through establishing robust safety protocols, ensuring that your next home improvement task, whether it’s a minor fix or a major renovation, is carried out with utmost confidence and protection for everyone involved.
Quick Answer: A safe repair environment in a residential property requires a systematic approach, including hazard identification, appropriate personal protective equipment (PPE), proper ventilation, organized tools, and a clear emergency plan. Prioritizing these elements significantly reduces risks during any home repair or maintenance task.
Assess Potential Hazards Before Starting
Before any tool touches a surface, a thorough assessment of potential hazards is the cornerstone of a safe repair environment setup for residential properties. This crucial first step involves identifying everything from electrical risks and gas lines to lead paint, asbestos, and structural instabilities. Walk through your intended workspace and consider what dangers might be present, both visible and hidden. Understanding these potential pitfalls allows you to mitigate them proactively, rather than reacting when an incident occurs.
Consider the nature of the repair itself; is it plumbing, electrical, carpentry, or something else entirely? Each type of work presents unique safety challenges. For instance, electrical work demands shutting off power at the breaker, while plumbing might require water shut-off and spill containment. Documenting your findings and creating a checklist ensures no critical hazard is overlooked. This systematic pre-assessment is an investment in safety that pays dividends in preventing accidents and ensuring a smooth, secure project completion for 2026 and beyond.
Equip Yourself with Essential PPE
Personal Protective Equipment, or PPE, is your first line of defense against common repair injuries. Once hazards are identified, selecting the correct PPE becomes straightforward. This typically includes safety glasses or goggles to protect against debris and chemical splashes, sturdy gloves for grip and to shield hands from cuts or chemicals, and a dust mask or respirator to prevent inhalation of harmful particles. The specific task will dictate additional gear, such as hearing protection for noisy tools or a hard hat for overhead work.
Investing in high-quality, comfortable PPE is paramount. Ill-fitting or uncomfortable gear is often neglected, defeating its purpose entirely. Ensure all PPE is in good condition, regularly inspected for wear and tear, and replaced as needed. Think of PPE as essential tools themselves, integral to the success and safety of your project. For more detailed guidance on selecting appropriate PPE, resources like the Occupational Safety and Health Administration (OSHA) provide extensive information relevant even to residential settings.
Ensure Adequate Ventilation and Air Quality
Maintaining excellent air quality is a non-negotiable aspect of a safe repair environment setup for residential properties, particularly when working with paints, solvents, adhesives, or generating significant dust. Poor ventilation can lead to the accumulation of hazardous fumes and airborne particulates, posing serious risks to respiratory health. Always aim to work in a well-ventilated area by opening windows and doors, and using fans to create a cross-breeze that expels contaminants and draws in fresh air.
Managing Dust and Fumes Effectively
When natural ventilation is insufficient, especially in enclosed spaces or during tasks that produce a lot of dust, consider using exhaust fans or air scrubbers equipped with HEPA filters. These devices actively remove airborne particles and fumes, significantly improving the safety of your workspace. Always read product labels for specific ventilation requirements, as some chemicals demand specialized respirators even with good air circulation. Proper management of dust and fumes safeguards not only your health but also prevents the spread of contaminants throughout your home.
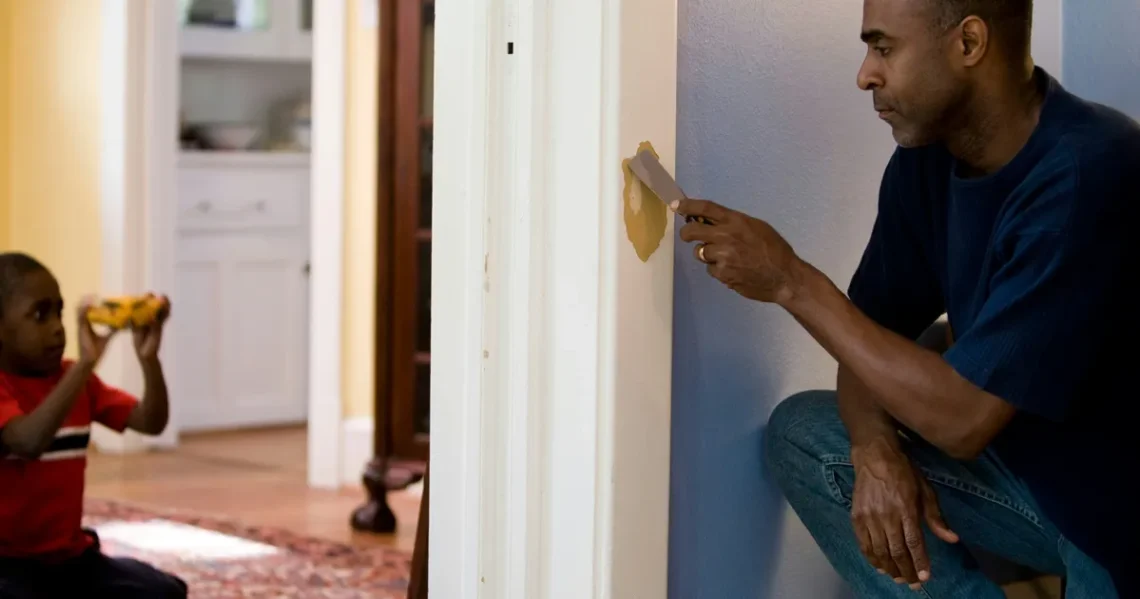
Organize Tools and Workstation Logically
A cluttered workspace is an accident waiting to happen. Effective tool organization and a logical workstation layout are critical components of home repair safety. Keep tools clean, well-maintained, and stored properly when not in use. Sharp objects should have protective covers, and power tools should be unplugged and stored securely. Ensure extension cords are rated for the job, in good condition, and laid out to prevent tripping hazards, avoiding overloaded outlets at all costs.
Designate specific areas for different tasks within your repair zone. This might mean a cutting station, an assembly area, or a dedicated space for hazardous materials. Maintaining clear pathways and ensuring adequate lighting throughout the workspace prevents missteps and improves visibility for intricate tasks. A methodical approach to organization not only enhances safety but also boosts efficiency, helping you locate the right tool quickly and reducing project downtime. This discipline is especially valuable for ensuring smooth operations in 2026 and beyond.
Prepare for Emergencies and First Aid
Even with the most meticulous planning, accidents can occur, making emergency preparedness a vital part of any safe repair environment setup for residential properties. Always have a fully stocked first-aid kit readily accessible, capable of addressing minor cuts, burns, or splinters. Knowing basic first aid can be invaluable in mitigating the immediate aftermath of an injury. Furthermore, ensure you know the location of your home’s main electrical breaker, gas shut-off valve, and water main, and how to operate them quickly in an emergency.
Before starting a project, inform another household member or neighbor about your planned work, especially if you’re working alone or on a potentially hazardous task. Keep a charged phone nearby to call for help if needed, and have emergency contact numbers readily available. Understanding your escape routes and having a fire extinguisher rated for various types of fires (A, B, C) within easy reach completes your emergency readiness plan. Being prepared for the unexpected is the ultimate safeguard in any home repair endeavor.
Key Takeaways
- Proactive hazard assessment is the foundation of a safe home repair environment.
- Always wear appropriate Personal Protective Equipment (PPE) to prevent injuries.
- Ensure adequate ventilation and manage air quality to protect respiratory health.
- Maintain an organized and clutter-free workspace to prevent accidents and improve efficiency.
- Have a comprehensive emergency plan, including a first-aid kit and knowledge of utility shut-offs.
Frequently Asked Questions
What are the most common hazards in residential repair work?
Common hazards include electrical shock, falls from ladders, cuts from sharp tools, chemical exposure from paints and solvents, respiratory issues from dust or fumes, and potential encounters with lead paint or asbestos in older homes. Identifying these early is key to hazard mitigation.
How often should I inspect my PPE?
You should inspect your PPE before each use for any signs of wear, damage, or degradation. Gloves can tear, safety glasses can scratch, and respirators can lose their seal. Replacing damaged PPE immediately ensures continuous protection during your residential safety protocols.
Can I use a regular household fan for ventilation?
While a regular household fan can help circulate air, it’s often insufficient for tasks generating significant dust or strong fumes. For these situations, dedicated exhaust fans, industrial-grade fans, or air purifiers with appropriate filters are recommended to ensure proper air quality and a truly safe repair environment.
What should be in a basic first-aid kit for home repairs?
A basic first-aid kit should include bandages of various sizes, antiseptic wipes, gauze pads, medical tape, pain relievers, tweezers for splinters, scissors, disposable gloves, and an emergency contact list. Consider adding burn cream and antihistamines for allergic reactions.
Conclusion
Establishing a safe repair environment setup for residential properties is not merely about following rules; it’s about cultivating a mindset of proactive safety. By diligently assessing hazards, utilizing proper PPE, ensuring clean air, maintaining an organized workspace, and preparing for emergencies, you transform potential dangers into manageable risks. Prioritizing these steps ensures that every home repair project you undertake is completed efficiently, effectively, and most importantly, safely. Share your own home safety tips in the comments below – let’s build a safer community together for 2026!
- How to Dry Wet Carpet Fast: Emergency Methods for Indoor Flooding
- Quickly Diagnose & Safely Fix Residential Electrical Faults
- Emergency Toilet Overflow: Cleanup & Prevention Guide
- Emergency Exterior Wall Stabilization: Immediate Solutions to Prevent Collapse
- How to Stop Roof Leaks During Heavy Rain Quickly