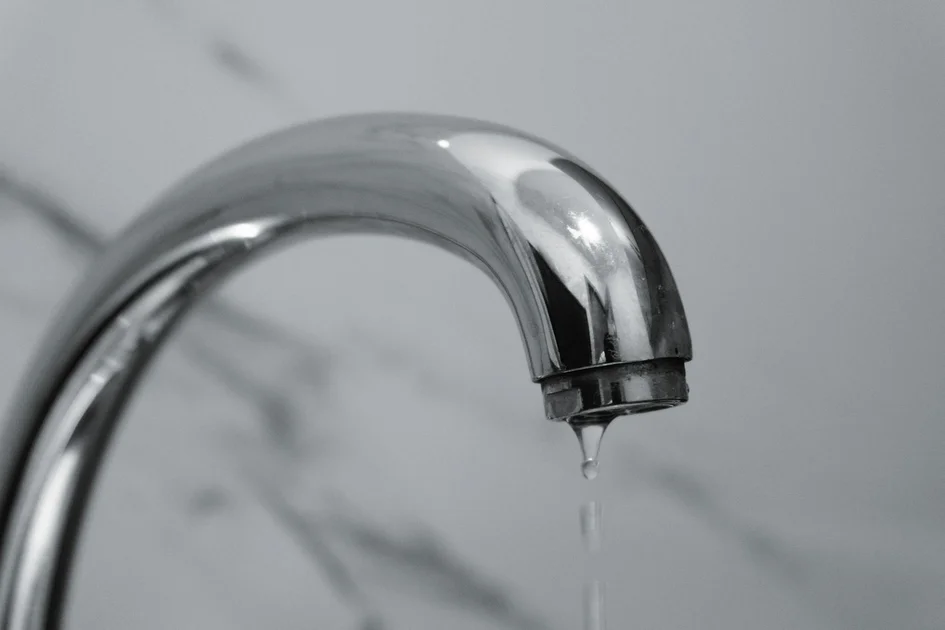
Learning how to fix a leaking pipe under the sink without professional help is a rite of passage for every homeowner in 2026, serving as a critical defense against the silent, structural devastation of water damage. While many residents rely on expensive contractors for minor drips, the truth revealed by plumbing industry veterans is that most sink leaks stem from simple gasket failures or loose slip nuts that require nothing more than a basic wrench and a clear head. By bypassing the traditional service call, you not only save hundreds of dollars but also gain a profound understanding of your home’s infrastructure. This investigation pulls back the curtain on the industry-standard tools and techniques that allow you to master your kitchen or bathroom plumbing with confidence and precision.
The Anatomy of a Sink Leak
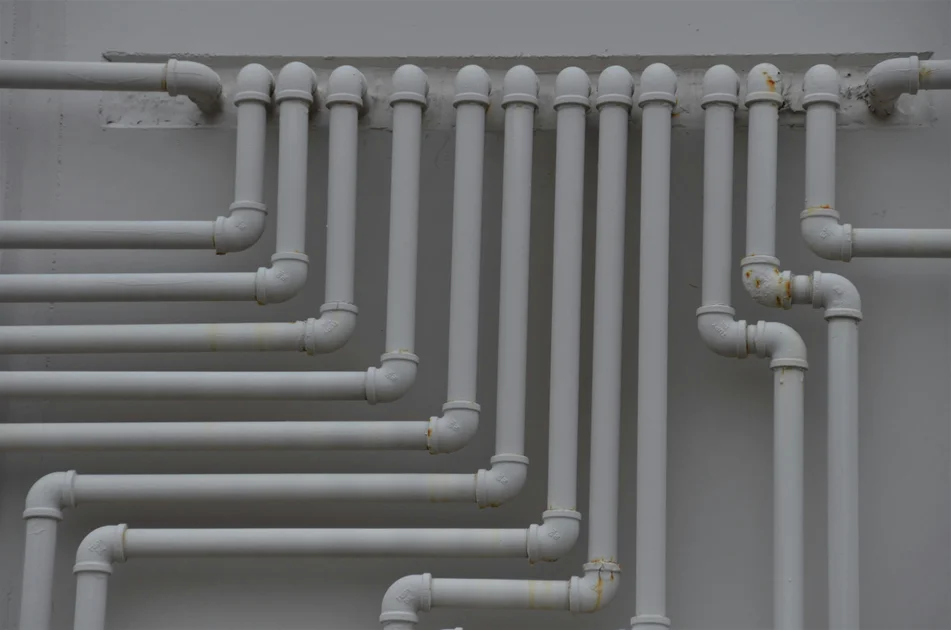
To diagnose the problem, you must first understand that most under-sink drainage systems operate via a series of slip-joint connections. In 2026, modern plumbing codes emphasize the use of high-grade PVC and polypropylene materials, which are designed for longevity but remain susceptible to thermal expansion and contraction. When these joints vibrate over time, the internal rubber washers can become brittle or misaligned, creating the perfect conditions for a persistent, slow-motion leak that often goes unnoticed until the cabinet floor begins to warp or mold.
Expert investigators note that the most common culprit is not a cracked pipe, but a simple compression nut that has vibrated loose. Before you rush to the hardware store for expensive replacements, perform a dry-run inspection using a dry paper towel to trace the path of the moisture. If the leak originates at a joint, tighten the connection by hand; if it persists, you are likely dealing with a degraded washer that requires immediate replacement. Always keep a bucket underneath the P-trap to capture any residual water before you initiate the disconnection process, ensuring your workspace remains clean and dry.
Essential Tools and Materials
The professional plumber’s kit in 2026 has evolved to prioritize ergonomic efficiency and non-destructive repairs. For the average homeowner, a standard adjustable wrench, a pair of tongue-and-groove pliers, and a bucket are the fundamental trinity of tools required for success. Avoid the temptation to use heavy-duty pipe wrenches on plastic fittings, as these can easily crush the delicate threads of PVC components. Instead, opt for slip-joint pliers with rubber grips, which provide the necessary leverage without compromising the structural integrity of the drainage assembly.
Beyond the hardware, having a supply of high-quality PTFE thread seal tape and replacement rubber washers is essential. While some DIY enthusiasts reach for liquid sealants or epoxy, these are often considered temporary “band-aid” solutions that make future maintenance significantly more difficult. By utilizing the proper O-rings and ensuring the pipe ends are cut flush and clean, you achieve a mechanical seal that adheres to modern plumbing standards. Always remember to clear out the cabinet space entirely, as having a clear line of sight and unrestricted physical movement is the primary difference between a quick repair and a frustrating, hours-long ordeal.
Comparison of Sealing Methods
| Method | Efficiency | Difficulty | Best Use Case |
|---|---|---|---|
| PTFE Tape | High | Low | Threaded metal connections |
| Rubber Washers | High | Low | Slip-joint connections |
| Silicone Sealant | Medium | Medium | Permanent sink drain flange |
| Compression Rings | High | Medium | Rigid pipe junctions |
| Pipe Repair Putty | Low | High | Emergency crack sealing |
Executing the Repair Process
Once you have identified the source of the leak, the process of dismantling the P-trap begins with safety and preparation. Start by placing your collection bucket directly beneath the trap, then loosen the slip nuts by turning them counter-clockwise. In 2026, most P-traps are designed as modular units that can be removed by hand, but if a nut is stuck, a gentle turn with pliers is acceptable. Once the trap is removed, you will likely find a collection of sediment and debris that has prevented a perfect seal; cleaning these surfaces with a non-abrasive cloth is critical for preventing future leaks.
Inspecting Internal Components
While the trap is detached, take the opportunity to inspect the internal washers for signs of hardening or cracking. If the rubber feels stiff or shows visible indentations, it has lost its ability to create a waterproof barrier and should be replaced immediately. Many homeowners make the mistake of reusing old gaskets, which almost inevitably leads to a secondary leak within weeks. Always purchase a multi-pack of assorted washer sizes to ensure you have the exact match, as slight variations in pipe diameter can render a standard size ineffective.
Reddit & Expert Community Consensus
“The secret that plumbers won’t tell you is that 90% of sink leaks are just a result of overtightening plastic nuts. When you crush the plastic, it loses its shape and the seal fails. Hand-tight is almost always enough, followed by a quarter-turn with pliers if you see a drip. Don’t go to town on it or you’ll be replacing the whole drain assembly.” — u/MasterPlumber2026, r/HomeImprovement
Advanced Troubleshooting Tactics
If you have replaced the washers and tightened the connections but the leak persists, the issue may lie with the pipe alignment itself. Drainage systems rely on gravity, and if the pipes are under tension due to poor alignment, the connection points will never be perfectly flush. In these instances, you may need to trim a small segment of the tailpiece or adjust the height of the P-trap to eliminate the stress on the joints. This level of precision is what separates a novice repair from a professional-grade fix, ensuring the system remains leak-free for years to come.
Another common but overlooked issue involves the sink drain flange, which connects the sink basin to the tailpiece. If water is leaking from the very top of the assembly, the plumber’s putty or the rubber gasket underneath the sink basin may have failed. This requires loosening the large nut under the sink and reapplying a fresh bead of sealant. While this process is more involved, it is a necessary skill for any homeowner looking to maintain a dry, healthy kitchen environment. Consult the Plumbing Foundation for updated 2026 guidelines on pipe materials and environmental safety standards.
Key Takeaways
- Always place a bucket under the workspace to capture residual water before disassembly.
- Use hand-tightening techniques for PVC nuts to prevent cracking the threads.
- Replace old, brittle washers rather than attempting to reuse them with sealants.
- Ensure the pipe alignment is stress-free to prevent future joint failure.
- Prioritize cleaning debris from threads before reassembling the trap.
- Consult professional resources for specific plumbing code requirements in your region.
Frequently Asked Questions
Is it safe to use pipe tape on plastic sink pipes?
While PTFE tape is excellent for metal threads, it is often unnecessary for plastic slip-joint connections that rely on rubber washers. Applying it can sometimes make the nut difficult to thread properly.
How do I know if I need to replace the entire P-trap?
If you notice visible cracks, warping, or if the threads have been stripped by previous over-tightening, the entire P-trap assembly should be replaced for a permanent solution.
What should I do if the leak is coming from the faucet base?
A leak at the faucet base usually indicates a failed O-ring or cartridge inside the faucet itself, which requires a different repair process than the drainage pipes under the sink.
Can I use drain cleaner to fix a slow leak?
No, chemical drain cleaners are harsh and can degrade plastic pipes over time, potentially worsening the leak or causing a catastrophic failure of the trap assembly.
How tight should the slip nuts be?
Always tighten them by hand until they are snug, then perform a leak test. If a drip appears, tighten them no more than an additional quarter-turn with pliers.
Conclusion
Mastering the ability to fix a leaking pipe under the sink is an invaluable skill that empowers you to maintain your home with confidence. By following these 2026 best practices—focusing on proper gasket replacement, careful alignment, and avoiding the trap of overtightening—you can resolve most plumbing issues without the need for external help. Remember that patience is your greatest tool; taking the time to diagnose the root cause rather than applying quick fixes will ensure your home remains protected from water damage for the long term. Stay vigilant, stay prepared, and enjoy the satisfaction of a job well done.
- Immediate Drain Blockage Solutions for Rapid Restoration
- Water Damage Restoration Tips for Protecting Your Property
- Emergency Repair: Safeguarding Structural Integrity & Safety
- Burning Smell From Electrical Outlet? How To Identify It Safely
- Electrical Safety: How to Isolate a Dead Circuit Before Troubleshooting