Hey there, fellow home enthusiast! Today, we’re tackling a topic that might sound a little intimidating but is absolutely crucial for anyone looking to do a bit of DIY electrical work: how to safely isolate a dead electrical circuit before troubleshooting. Whether you’re dealing with an outlet that’s stopped working, a light fixture that’s gone dark, or any other mysterious electrical silence, the very first and most important step is to ensure that circuit is truly dead and won’t surprise you with a jolt. This isn’t just about fixing things; it’s fundamentally about your safety and the safety of your home. We’ll walk through the process step-by-step, making sure you feel confident and secure before you even think about picking up a screwdriver. Let’s make sure your next electrical project is a safe one!
Understanding the “Dead” Circuit
Before we dive into the practical steps, let’s clarify what we mean by a “dead” electrical circuit. In simple terms, a dead circuit is one that has no electrical current flowing through it. This means there’s no voltage present, making it safe to touch and work on without the risk of electric shock. However, just because a light isn’t turning on or an outlet isn’t powering a device doesn’t automatically mean the circuit is truly dead. There could be a loose wire, a tripped breaker, or another issue that still leaves voltage present elsewhere in the circuit. That’s why the process of how to safely isolate a dead electrical circuit is paramount, ensuring no hidden dangers are lurking.
The importance of proper isolation cannot be overstated. Working on a live circuit, even one you suspect is dead, can lead to severe injury, electrocution, or even fire. Our goal here is to eliminate all doubt and confirm the circuit is de-energized. This foundational understanding is the cornerstone of all safe electrical work. It’s about taking proactive measures to protect yourself and your property, transforming a potentially hazardous situation into a manageable troubleshooting task. Always approach electrical issues with a healthy dose of caution and respect for the power involved.
Essential Tools for Safety
Before you even think about touching your electrical panel or wires, gather the right tools. Your safety depends on it! First on the list is a non-contact voltage tester, often called a “tick tracer.” This handy device can detect voltage without direct contact, giving you an initial indication of whether a wire is live. Next, you’ll absolutely need a reliable multimeter. This versatile tool measures voltage, current, and resistance, providing precise readings that are crucial for confirming a circuit is truly dead. Investing in a good quality multimeter is a wise decision for any homeowner.
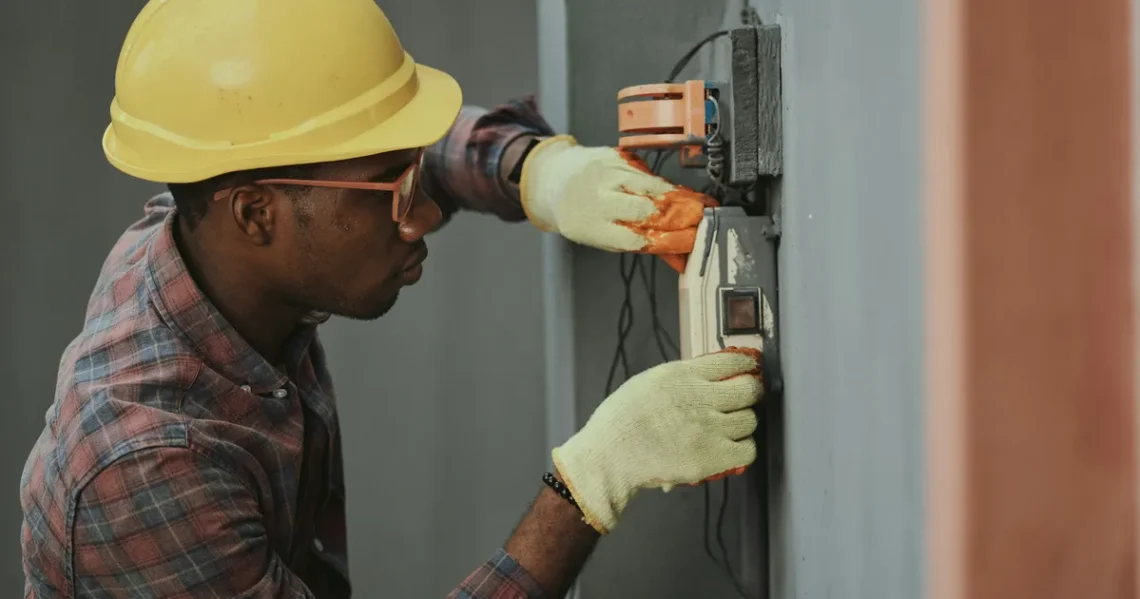
Beyond testing equipment, personal protective equipment (PPE) is non-negotiable. Always wear insulated gloves, even when you believe a circuit is dead, as an extra layer of protection against unexpected voltage. Safety glasses or goggles are also vital to protect your eyes from potential sparks or debris. Lastly, a bright flashlight or headlamp is incredibly useful, especially when working in dimly lit electrical panels. Having these tools ready ensures you’re prepared for every step in the process of how to safely isolate a dead electrical circuit, making your work environment as secure as possible.
Locating Your Electrical Panel
Your home’s electrical panel, sometimes called a breaker box or fuse box, is the heart of your electrical system. It’s typically a gray metal box, often found in a utility room, basement, garage, or even a closet. Its location can vary significantly between homes, so if you’re unsure, check common areas first. Once you’ve found it, you’ll see a main breaker switch and numerous smaller breakers, each controlling a specific circuit in your home. Familiarizing yourself with its location and how it operates is the first physical step in preparing to safely isolate a dead electrical circuit.
The electrical panel is where all the electricity entering your home is distributed. Inside, each breaker acts as a safety device, tripping (turning off) if a circuit becomes overloaded or shorted, preventing damage and potential fires. Knowing how to open the panel cover, identify the main breaker, and understand its layout is fundamental. Some panels might have a hinged door, while others might require a screwdriver to remove a cover. Always ensure you have clear access and good lighting before you begin working around this critical component of your home’s electrical infrastructure.
Identifying the Correct Breaker
Once you’re at the electrical panel, the next challenge is figuring out which specific breaker controls the “dead” circuit you want to troubleshoot. Ideally, your panel will have a neatly labeled directory, clearly indicating which breaker corresponds to which room or appliance. If you’re lucky enough to have one, take a moment to review it carefully. If the labels are vague, outdated, or nonexistent, don’t despair! This is a common scenario for many homeowners, and we have a safe method to identify it.
The safest way to identify an unlabeled breaker is through a systematic process of elimination. First, turn off the main breaker to de-energize your entire home for a moment if you’re not confident in your panel’s labeling. Then, one by one, flip individual circuit breakers off while someone else (or you, if you have a clear line of sight) observes the affected outlet or fixture, confirming when it goes off. Use a non-contact voltage tester at the suspected outlet to confirm it’s now truly dead. If the circuit you’re working on isn’t the only one affected, you might need to test multiple breakers. Once identified, leave that specific breaker in the “off” position. Remember, patience is key here for safety.
Using Your Voltage Tester and Multimeter
After you’ve identified and flipped the correct breaker to the “off” position, it’s absolutely critical to verify that the circuit is indeed dead. This is where your non-contact voltage tester and multimeter come into play. First, use your non-contact voltage tester on the wires or terminals of the circuit you intend to work on. Touch the tip of the tester to each hot wire (usually black or red) and the neutral wire (usually white). If the tester remains silent and doesn’t light up, it’s a good initial sign, but it’s not enough to confirm zero voltage definitively.
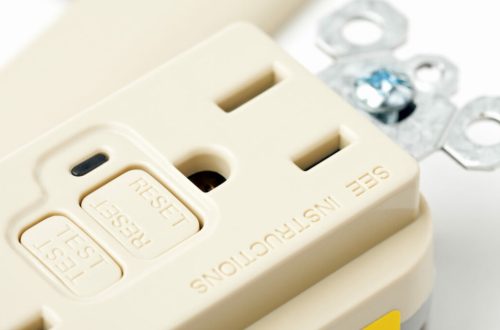
For absolute certainty, you must use your multimeter. Set your multimeter to measure AC voltage (V~). Insert one probe into the smaller slot (hot) of the outlet and the other into the larger slot (neutral). Then, test between the hot slot and the ground hole. Finally, test between the neutral slot and the ground hole. You should get a reading of 0 volts in all instances. If you get any voltage reading, no matter how small, the circuit is still live, and you need to recheck your breaker or consider if there’s another power source. This meticulous verification is the most important step in how to safely isolate a dead electrical circuit.
Lockout/Tagout Procedures
For advanced safety, especially if others might be in the home or if you’re working on a complex issue that takes time, implementing a lockout/tagout procedure is highly recommended. This involves placing a lock on the circuit breaker you’ve turned off, preventing anyone from accidentally flipping it back on while you’re working. Specialized lockout devices are available at hardware stores that fit over the breaker switch, securing it in the “off” position. Along with the lock, a tag should be attached, clearly stating that work is being performed on the circuit and not to re-energize it.
This procedure ensures that only the person holding the key to the lock can re-energize the circuit, adding an invaluable layer of protection. This practice, often mandated in industrial settings, is excellent for home use too, particularly for larger projects or when working with others. It’s a simple yet effective way to reinforce the isolation of the circuit and prevent accidental re-energization. Always prioritize this step for enhanced safety, especially for any significant electrical work planned for 2026 or beyond. For more detailed information, you can consult resources like OSHA’s guidelines on lockout/tagout procedures, which offer comprehensive safety advice. https://www.osha.gov/laws-regs/regulations/standardnumber/1910/1910.147
Key Takeaways
- Always assume a circuit is live until you’ve proven it dead with testing equipment.
- Use a non-contact voltage tester for initial checks and a multimeter for definitive voltage verification.
- Identify the correct breaker for the circuit you’re working on before attempting any repairs.
- Never rely solely on turning off a switch; always verify zero voltage at the point of work.
- Consider lockout/tagout procedures for added safety, especially on prolonged projects or in shared spaces.
- Wear appropriate personal protective equipment (PPE), including insulated gloves and safety glasses.
Frequently Asked Questions
What if my electrical panel isn’t labeled?
If your panel isn’t labeled, the safest approach is to systematically turn off breakers one by one while using a voltage tester at the affected outlet or fixture. This helps you identify which breaker controls the circuit you intend to work on. It might take a bit of time, but it’s crucial for safety.
Can I just flip the main breaker for the entire house?
Yes, you can flip the main breaker to de-energize your entire home. This is the ultimate way to safely isolate a dead electrical circuit if you’re unsure which individual breaker controls the specific circuit. However, it will cut power to everything, so be prepared for temporary inconvenience and ensure sensitive electronics are powered down first.
Is a non-contact voltage tester enough to confirm a circuit is dead?
While a non-contact voltage tester is excellent for a quick initial check, it is not sufficient for definitive confirmation. It’s a useful indicator, but for absolute certainty that zero voltage is present, you must use a multimeter. Always double-check with a multimeter before touching any wires.
What does it mean if my multimeter shows a small voltage reading (e.g., 5V) after turning off the breaker?
A small voltage reading, sometimes called “phantom voltage,” can occur due to induction from nearby live wires. While often not dangerous, it indicates that there’s still some electrical activity. It’s best practice to aim for a true 0V reading. If you consistently get a reading above 0V, recheck your breaker or consult a qualified electrician.
When should I call a professional electrician instead of DIY troubleshooting?
You should call a professional electrician if you’re uncomfortable at any point, if you can’t identify the correct breaker, if your testing equipment shows persistent voltage, or if the problem seems complex or beyond your skill level. Electrical work carries significant risks, and it’s always better to err on the side of caution. For complex issues or if you’re feeling overwhelmed, don’t hesitate to seek expert help, especially for significant home upgrades planned for 2026. For finding certified professionals, resources like the Electrical Safety Foundation International (ESFI) can be invaluable. https://www.esfi.org/find-an-electrician/
Conclusion
Safely isolating a dead electrical circuit before troubleshooting is not just a recommendation; it’s a fundamental requirement for any electrical work you undertake in your home. By following these steps – understanding your circuit, gathering the right tools, locating your panel, identifying the correct breaker, verifying zero voltage with a multimeter, and considering lockout/tagout – you significantly reduce the risk of accidents. Your safety is always the top priority. Approach every electrical task with respect for the power involved and never take shortcuts. With a methodical and cautious approach, you can confidently troubleshoot and fix minor electrical issues around your home, ensuring peace of mind for you and your family for years to come.