Learning how to remove trapped moisture from wooden flooring is a critical skill for any homeowner looking to preserve the structural integrity and aesthetic beauty of their property. When water seeps beneath the surface of hardwood or engineered planks, it can lead to devastating issues like cupping, buckling, or even the growth of hazardous mold colonies. In the modern architectural landscape of 2026, we have access to advanced moisture detection tools that make this process more precise than ever before. Addressing the problem immediately is the only way to prevent permanent warping of the timber fibers. By understanding the science of evaporation and wood porosity, you can effectively salvage your expensive flooring and avoid the massive costs of a full replacement. This guide explores professional-grade drying methods and DIY strategies designed to extract deep-seated dampness from your subfloor and planks efficiently.
Identifying the Signs of Moisture Damage
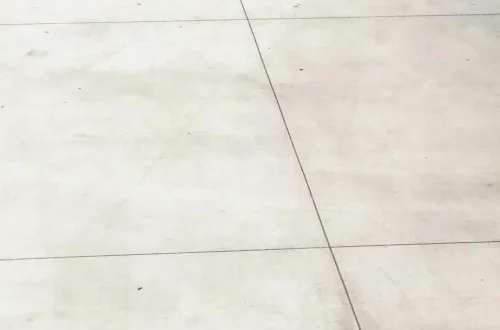
Spotting the early indicators of water intrusion is essential for effective remediation before the damage becomes permanent. One of the most common signs is cupping, where the edges of the floorboards rise higher than the center, creating a concave shape across the width of the plank. This usually indicates that the bottom of the wood is significantly wetter than the top, causing the underside to expand. Conversely, crowning occurs when the center of the board bulges upward, often suggesting the surface was exposed to high humidity or standing water for an extended period. If you notice any discoloration or dark spots along the grain, it might indicate that moisture has already begun to react with the tannins in the wood or that mold spores are colonizing the damp environment.
Beyond visible warping, you should pay close attention to the physical feel and sound of the floor underfoot. Soft spots or a springy sensation when walking can signal that the subfloor or the adhesive bond has been compromised by excess liquid. In 2026, savvy homeowners often use non-invasive moisture meters to get an accurate reading of the percentage of water within the wood grain. A reading that is significantly higher than the baseline for your specific local climate suggests an urgent need for drying intervention. Ignoring these subtle shifts can lead to irreversible cellular collapse within the timber, making it impossible to sand and refinish the boards later. Early detection is the most cost-effective strategy for maintaining hardwood longevity.
Immediate Steps for Surface Water Removal
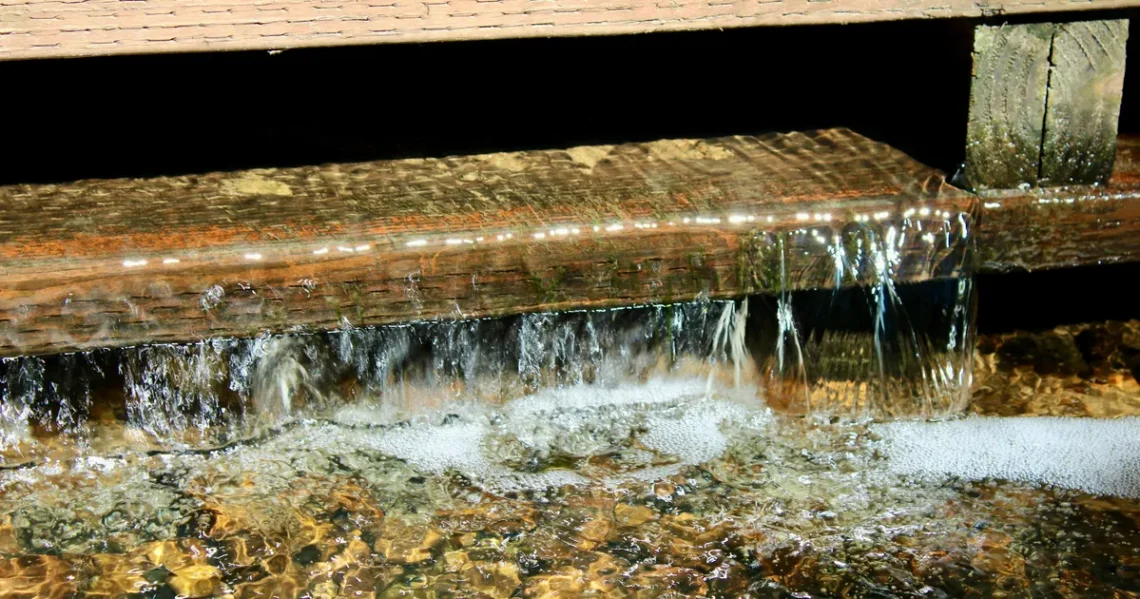
The moment a leak or spill is detected, your priority must be the rapid removal of standing water to prevent further penetration into the subfloor. Start by using a high-capacity wet-dry vacuum to suck up as much liquid as possible from the cracks and crevices between the planks. Standard towels and mops are often insufficient for deep extraction because they cannot reach the moisture that has already begun to travel via capillary action. It is vital to act within the first 24 to 48 hours, as this is the critical window before mold typically begins to develop in dark, unventilated spaces. Professional organizations like the IICRC provide global standards for water restoration that emphasize the importance of speed in these initial stages.
Once the bulk of the surface water is gone, you should focus on cleaning the area with a wood-safe disinfectant to prevent bacterial growth. Contaminated water, such as that from a burst pipe or a flood, can carry pathogens that may become trapped under the finish or within the wood’s pores. Scrubbing the floor with a stiff brush and a neutral pH cleaner helps ensure that no residue remains to trap further dampness. However, avoid using excessive water during this cleaning phase, as you do not want to add to the existing moisture load. Ensure that the room is well-ventilated by opening windows if the outdoor humidity is low, or by sealing the room and using internal climate controls if the exterior air is damp.
Professional Drying Equipment and Techniques
To truly remove trapped moisture from wooden flooring, you must go beyond simple household fans and utilize specialized drying equipment. High-velocity air movers are designed to create a laminar airflow across the floor surface, which accelerates the rate of evaporation by stripping away the boundary layer of saturated air. Unlike standard fans, these units are engineered to run for days at a time and can move thousands of cubic feet of air per minute. When positioned correctly at a 45-degree angle, they create a vortex-like effect that pulls moisture out from deep within the wood grain. This process is most effective when the room temperature is maintained between 70 and 90 degrees Fahrenheit to facilitate faster evaporation.
In addition to air movement, the use of large-scale dehumidifiers is non-negotiable for successful wood floor restoration. These machines work by pulling moist air into cooling coils, where the water condenses and is pumped away, leaving behind dry air. This creates a vapor pressure deficit, where the dry air actively pulls moisture out of the porous wood fibers. For large-scale flooding, restoration professionals often use floor mat drying systems. These systems consist of specialized mats that are taped to the floor and connected to a high-pressure vacuum, literally sucking the water out through the wood’s pores and joints. This is often the only way to save a floor without undergoing a full tear-out and replacement.
Using Industrial Desiccant Dehumidifiers
Desiccant dehumidifiers are particularly effective for hardwood because they can achieve much lower relative humidity levels than standard refrigerant models. They use a chemical substance, like silica gel, to absorb moisture directly from the air, making them ideal for dense materials like oak or maple. By lowering the room’s humidity to extremely low levels, these machines force the deep-seated moisture within the subfloor to migrate toward the surface. This method is often preferred in 2026 for high-end residential projects where preserving the original historic timber is a priority. Using this technology ensures that the equilibrium moisture content of the wood is restored to its original state safely and efficiently without causing further stress fractures.
Addressing Moisture Trapped in the Subfloor
One of the most difficult challenges is dealing with moisture that has migrated into the subfloor, whether it be plywood or concrete. If the subfloor remains wet while the hardwood on top is dried, the wood will eventually re-absorb that moisture, leading to a recurring cycle of damage. In cases where the flooring is installed over a crawl space, it is often necessary to place drying equipment underneath the floor joists. This bottom-up approach ensures that the entire assembly is dried uniformly from both sides. According to guidelines from FEMA, ensuring the structural components of a home are dry is essential for long-term safety and mold prevention after a water event.
For floors installed over concrete slabs, the process is even more complex because concrete is highly porous and can hold moisture for several weeks. If a vapor barrier was not correctly installed during the initial construction, moisture can wick up from the ground and become trapped beneath the wood. In these scenarios, it may be necessary to remove a few planks to allow the slab to breathe or to use specialized in-chamber drying techniques. Monitoring the moisture levels of the subfloor using a probe-style meter is the only way to verify that the drying process is complete. You must ensure the subfloor is within two to four percent of the wood flooring’s moisture content before concluding the restoration efforts to prevent future shifting.
When to Call a Restoration Specialist
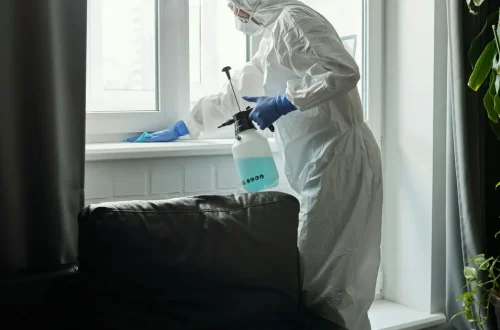
While DIY efforts can handle minor spills, significant flooding or long-term leaks usually require professional intervention. A restoration specialist has the thermal imaging cameras necessary to find hidden pockets of water behind baseboards or under cabinets that the naked eye cannot see. They also possess the expertise to determine if the water is Category 1, which is clean, or Category 3, which involves sewage and requires biohazard protocols. Handling contaminated water without proper protective gear and antimicrobial treatments can lead to serious health risks for the occupants. If the flooring has begun to buckle—meaning it has lifted off the subfloor entirely—professional mechanical tensioning may be required to flatten the planks back into place.
Furthermore, professionals can provide the comprehensive documentation needed for insurance claims, which is a vital part of the financial recovery process. They use moisture mapping to prove that the home has been returned to its pre-loss condition, which is essential for maintaining the property’s resale value in 2026. If you notice a persistent musty odor after the surface feels dry, it is a definitive sign that mold is growing in the dark, damp cavities beneath the boards. A specialist can perform mold remediation that includes HEPA vacuuming and air scrubbing to ensure that the indoor air quality is not compromised. Investing in professional help early can save you thousands of dollars in the long run by preventing structural decay.
Long-Term Prevention and Maintenance Strategies
Preventing future moisture issues is just as important as the initial removal process for any diligent homeowner. Start by maintaining a consistent indoor environment with a high-quality HVAC system that includes dedicated humidity control. Ideally, your home should stay between 30% and 50% relative humidity year-round to prevent the wood from expanding and contracting excessively with the seasons. Installing a smart leak detection system is a modern solution that can alert your smartphone the moment a pipe begins to drip, allowing you to stop the water before it reaches the floor. Additionally, ensure that your home’s exterior drainage, such as gutters and downspouts, is directing water far away from the foundation to prevent hydrostatic pressure issues.
Regularly inspecting the finish of your wooden floors is another proactive step that provides a layer of defense against spills. A strong, intact polyurethane or wax coating acts as a first line of defense, significantly slowing the rate at which liquid can penetrate the wood grain. If the finish is worn down in high-traffic areas, it becomes much easier for even small spills to cause deep-seated damage. Consider using area rugs with breathable pads in entries or near kitchen sinks to catch daily drips. By combining these physical protections with modern technology, you can create a robust defense system that keeps your wooden floors beautiful and dry for decades. Consistent care and situational awareness are the best tools for avoiding the stress of water damage.
Key Takeaways
- Identify moisture early by looking for cupping, crowning, or dark grain discoloration.
- Use a wet-dry vacuum immediately to remove surface water from the cracks between planks.
- Deploy high-velocity air movers and industrial dehumidifiers to facilitate deep-seated evaporation.
- Monitor both the wood and the subfloor with accurate moisture meters to ensure total dryness.
- Consult a professional if the water is contaminated or if the floorboards begin to buckle.
- Maintain indoor relative humidity between 30-50% to prevent future wood warping and damage.
Frequently Asked Questions
Can I use a hair dryer to dry my wood floors?
No, hair dryers provide localized, intense heat that can crack the wood or damage the finish without removing deep moisture. Professional drying requires high-volume airflow rather than extreme heat to safely extract water from the fibers.
How long does it take for wood floors to dry completely?
Depending on the severity of the saturation, it can take anywhere from 3 to 14 days of continuous professional drying. Factors such as wood density, the type of subfloor, and local humidity levels will influence the total time required for restoration.
Will the cupping go away once the floor is dry?
In many cases, if the wood has not reached its mechanical crush point, it will flatten out as it returns to normal moisture levels. However, if the cupping persists after drying, the floor may require professional sanding and refinishing to restore a flat surface.
Is it safe to leave a dehumidifier running overnight?
Yes, industrial-grade dehumidifiers are designed for continuous operation and are essential for 24/7 moisture extraction during a restoration project. Ensure the unit is properly drained into a sink or floor drain to prevent the reservoir from overflowing.
Can I sand my floor immediately after a leak?
Never sand a wet floor, as the wood is currently in an expanded state. Wait until moisture levels are stable and verified by a meter, or you may remove too much wood, leaving the boards thin and structurally weak once they eventually dry and shrink.
Conclusion
Successfully managing water damage requires a blend of immediate action and technical precision to ensure the longevity of your home. By learning how to remove trapped moisture from wooden flooring using modern equipment and proven drying principles, you protect one of your property’s most valuable assets. Whether you are dealing with a minor kitchen spill or the aftermath of a major storm in 2026, the key is to remain patient and thorough throughout the process. Rushing the drying phase or ignoring the subfloor can lead to long-term structural issues and mold. Stay vigilant, use the right tools, and your beautiful hardwood floors will continue to serve your home for many years to come.
- Burst Pipe Emergency: Quick Response & Temporary Stabilization Techniques
- How to Safely Locate and Shut Off Your Main Gas Line in an Emergency
- Prevent Hazards: Essential Techniques for Safe Home Maintenance
- How to Repair Loose Floor Tiles Without Replacing Them
- How to Use Protective Gear for Safe Home Repairs