Discovering a leak in your shower pipe can be a stressful and potentially damaging event, but knowing how to perform a temporary shower pipe leak repair without replacement can offer immediate relief and prevent further damage. This guide provides essential, actionable strategies for homeowners facing an unexpected plumbing emergency, allowing you to stabilize the situation until a permanent professional repair can be arranged. Addressing a leak promptly is crucial, not only to conserve water but also to safeguard your home’s structure from water damage, mold growth, and escalating repair costs. These temporary solutions are designed to be quick, effective, and accessible, buying you valuable time.
Understanding the Urgency of a Leaky Shower Pipe
A persistent drip or a steady stream from a shower pipe leak is more than just an annoyance; it’s a critical issue demanding immediate attention. Even a small leak can waste hundreds of gallons of water per month, leading to significantly higher utility bills. Beyond the financial implications, the continuous presence of moisture creates an ideal environment for mold and mildew to flourish, often hidden behind walls or under flooring. Mold can pose serious health risks, triggering allergies, respiratory problems, and other adverse reactions, making prompt action imperative for household health and safety.
Furthermore, unchecked water leaks can cause extensive structural damage to your home. Water can seep into drywall, insulation, wooden studs, and subflooring, weakening these materials over time. This can lead to costly repairs, including replacing entire sections of walls or floors, and even compromising the structural integrity of your bathroom and adjacent areas. Ignoring a leak, even a seemingly minor one, can quickly escalate a simple plumbing fix into a major home renovation project. Therefore, understanding the potential long-term consequences underscores the necessity of a swift, temporary repair to mitigate these risks.
Identifying the Leak Source
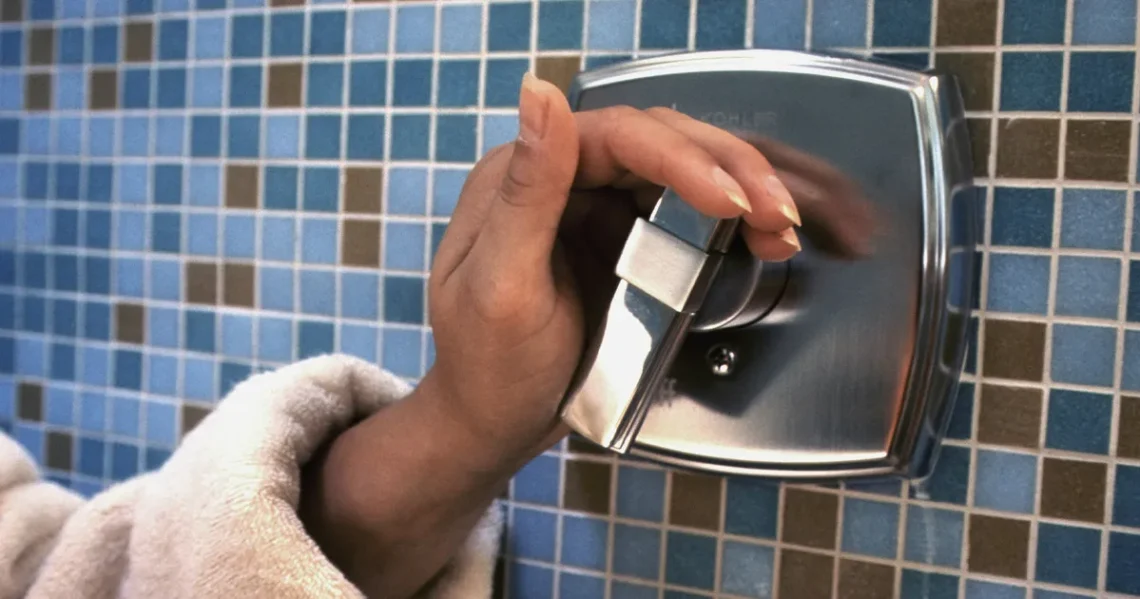
Accurately pinpointing the origin of a shower pipe leak is the crucial first step before attempting any temporary fix. Leaks can manifest in various locations within your shower system, each requiring a slightly different approach. Begin by visually inspecting all accessible parts: the showerhead connection, the escutcheon plate around the faucet handles, and the base of the shower arm. If water appears to be coming from behind the wall, you might notice staining on the ceiling below the bathroom or on the wall itself. Listen for dripping sounds within the walls, which can also indicate a hidden leak.
To isolate the leak, systematically check components. If water drips from the showerhead even when turned off, the issue is likely within the valve cartridge or diverter. Leaks around the faucet handles often point to worn O-rings or seals within the valve body. For leaks from the wall, the problem could be with the main supply lines feeding the shower valve, or even the shower arm connection itself. Sometimes, the leak might originate from the drain assembly, mimicking a pipe leak. Carefully observe where the water first appears and trace its path, as water can travel along pipes and structures, making the visible leak point different from the actual source. This detailed inspection is vital for an effective temporary shower pipe leak repair without replacement.
Essential Tools and Materials for Temporary Fixes
Having the right tools and materials on hand is crucial for a successful temporary shower pipe leak repair without replacement. Before you begin, gather a few essential items that can quickly seal a leak. High-quality self-fusing silicone repair tape is invaluable; it creates a watertight seal without adhesive, bonding only to itself. Epoxy putty, a two-part compound that hardens rapidly, is excellent for filling small holes or cracks in rigid pipes. For more robust pressure points, rubber pipe repair clamps or hose clamps, often paired with a rubber patch, can provide significant compression and seal off a leak effectively.
Additionally, you might need basic preparation tools like sandpaper or emery cloth to clean and roughen the pipe surface, enhancing adhesion for tapes and putties. A utility knife or scissors will be necessary to cut materials to size. Old rags or towels are indispensable for drying the affected area thoroughly, as most temporary sealants require a dry surface for optimal performance. Safety gloves and eye protection are also recommended to protect yourself from any chemicals or sharp edges. Ensuring you have these items readily available will streamline the repair process, allowing for a swift and efficient temporary fix to your leaky shower pipe.
Step-by-Step Guide to Common Leak Repairs
Once you’ve identified the leak, the next step is to apply a temporary fix. The general principle for any temporary repair involves stopping the water flow to the affected pipe, preparing the surface, and then applying a sealant or clamp. Always start by turning off the main water supply to your home or at least to the bathroom where the shower is located. This prevents further water damage and allows you to work safely and effectively. Thoroughly dry the area around the leak with a clean cloth. Any moisture can compromise the effectiveness of tapes or putties, leading to a failed repair. For best results, lightly sand or clean the pipe surface to ensure it’s free of dirt, grease, or corrosion, which will help the repair material adhere better.
The choice of temporary repair method depends on the nature and size of the leak. For small pinholes or hairline cracks, epoxy putty or a specialized pipe repair compound can be very effective. Knead the two-part epoxy putty until it’s uniformly mixed, then firmly press it over the leak, ensuring it completely covers the damaged area. Allow it to cure fully according to the manufacturer’s instructions, which usually takes several minutes to an hour. For slightly larger cracks or seams, self-fusing silicone tape is an excellent choice. This tape stretches and bonds to itself, creating a strong, watertight seal. Wrap it tightly around the pipe, overlapping each layer by at least 50% for several inches on either side of the leak, stretching it as you go to ensure a secure bond.
Applying Repair Tape or Clamps
When dealing with a leak that involves a larger crack or a joint, a combination of rubber and a clamp can provide a more robust temporary solution. First, cut a piece of rubber (from an old bicycle inner tube or a specialized repair patch) slightly larger than the leak. Position this rubber patch directly over the leak. Then, secure it firmly in place with a pipe repair clamp or several hose clamps. The clamps should be tightened sufficiently to compress the rubber against the pipe, creating a tight seal. Ensure the clamps are evenly spaced and applied with enough pressure to prevent any water from escaping, but be careful not to overtighten and cause further damage to the pipe. This method is particularly effective for pressure-bearing pipes and can withstand moderate water flow.
When to Call a Professional Plumber
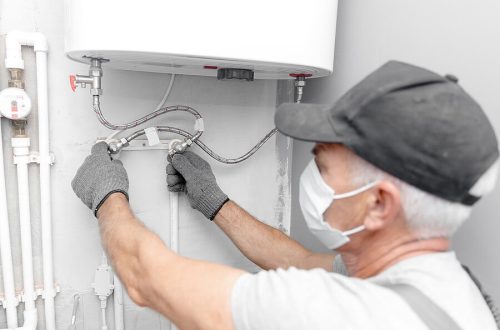
While temporary fixes are invaluable for immediate relief, it is critical to understand their limitations and recognize when a professional plumber is indispensable. A temporary shower pipe leak repair without replacement is precisely that – temporary. It buys you time, typically a few days to a few weeks, but it is not a permanent solution. If the leak recurs shortly after your temporary fix, or if you discover multiple leaks, it’s a clear sign that the underlying plumbing system requires a thorough professional assessment. Plumbing systems are complex, and what appears to be a simple leak might be indicative of wider corrosion, high water pressure issues, or structural damage within your walls that only a licensed plumber can accurately diagnose and rectify.
Furthermore, if you encounter a significant burst pipe, a leak that compromises your home’s electrical system, or if you simply feel overwhelmed or unsure about the repair process, do not hesitate to call a professional. Plumbers have specialized tools and expertise to perform intricate repairs, replace damaged sections of piping, and ensure that your plumbing meets current safety and building codes. Attempting a complex repair beyond your skill level can lead to more extensive damage, higher costs, and potential safety hazards. For enduring peace of mind and the long-term integrity of your home’s plumbing, especially for issues that persist into 2026, professional intervention is often the wisest course of action.
Preventative Measures to Avoid Future Leaks
Proactive maintenance is the best defense against future shower pipe leaks and the need for another temporary shower pipe leak repair without replacement. Regularly inspecting your shower and visible plumbing for any signs of corrosion, drips, or dampness can catch potential problems early before they escalate. Pay particular attention to connections, valves, and areas where pipes pass through walls. Another key preventative measure is managing your home’s water pressure. Excessively high water pressure can put undue stress on your plumbing system, leading to premature wear and tear on pipes and fixtures. Consider installing a pressure reducing valve (PRV) if your water pressure consistently exceeds 80 psi; this simple device can significantly extend the life of your plumbing.
Maintaining proper drainage is also crucial. Ensure your shower drain is clear of hair and soap scum buildup, as slow drains can cause water to back up and stress pipe joints. Using drain screens and performing regular, non-corrosive drain cleaning can help. Additionally, be mindful of what goes down your drains; avoid harsh chemical cleaners that can corrode pipes over time. For more general advice on maintaining your home’s plumbing, resources like the EPA’s WaterSense program offer valuable insights into water-efficient practices that often coincide with good plumbing health. By adopting these preventative habits, you can significantly reduce the likelihood of experiencing disruptive and costly pipe leaks in the future, safeguarding your home’s plumbing well into 2026 and beyond.
Key Takeaways
- Immediate action on shower pipe leaks prevents significant water damage and mold growth.
- Accurate identification of the leak source is crucial for selecting the correct temporary repair method.
- Essential tools like self-fusing tape, epoxy putty, and pipe clamps are vital for quick fixes.
- Temporary repairs are a short-term solution and do not replace the need for professional plumbing.
- Knowing when to call a professional prevents further damage and ensures long-term plumbing integrity.
- Regular inspections, water pressure management, and proper drain maintenance are key to preventing future leaks.
Frequently Asked Questions
How long will a temporary shower pipe leak repair last?
A temporary repair, such as those using tape or epoxy, is designed to last anywhere from a few days to a few weeks. Its primary purpose is to stop the immediate leak and prevent further damage until a permanent solution can be implemented by a professional plumber. Factors like water pressure, pipe material, and the severity of the original leak can influence its lifespan.
Can I use duct tape for a temporary shower pipe leak repair?
While duct tape might seem like a quick fix, it is generally not recommended for pipe leaks. It is not designed to withstand water pressure or constant moisture, and its adhesive will likely degrade quickly, leading to a failed repair. Specialized self-fusing silicone tape or epoxy putty provides a much more reliable temporary seal.
Is it safe to shower after a temporary pipe repair?
It is generally advisable to wait until the temporary repair material has fully cured (e.g., epoxy putty) and you have confirmed the leak has stopped before using the shower. Even then, use the shower sparingly and monitor the repair closely. A temporary fix reduces immediate risk, but prolonged use can compromise its integrity. Always prioritize getting a permanent repair as soon as possible.
What if the leak is inside the wall and I can’t access it?
If the leak is inaccessible behind a wall, your options for temporary repair are extremely limited. In such cases, the most important step is to immediately turn off the water supply to the affected area or your entire home. Then, contact a professional plumber without delay. They have tools to locate hidden leaks and will likely need to open the wall for proper repair, preventing extensive hidden damage.
What are the signs that my temporary fix is failing?
Signs that your temporary fix is failing include renewed dripping or a steady stream of water from the repaired area, visible dampness or water stains reappearing around the pipe, or a noticeable decrease in water pressure in your shower. If you observe any of these indicators, it’s a clear signal that the temporary solution is no longer holding and requires immediate attention, likely from a professional plumber.
Conclusion
Successfully performing a temporary shower pipe leak repair without replacement is a valuable skill for any homeowner, offering immediate peace of mind and preventing costly damage. By understanding the urgency, accurately identifying the leak, and utilizing the correct materials and techniques, you can effectively mitigate the immediate threat. However, it is crucial to remember that these solutions are not permanent. They serve as a vital bridge, allowing you time to plan and schedule a professional plumbing repair. Prioritizing a permanent fix ensures the long-term integrity of your home’s plumbing system, safeguards your property, and avoids future headaches. Always view temporary repairs as a stepping stone towards a complete and lasting solution.