Temporary attic reinforcement after storm damage is a critical first response for homeowners looking to preserve the structural integrity of their property following a severe weather event. In 2026, as climate patterns continue to produce more volatile wind and hail conditions, the ability to quickly stabilize a compromised roof system can mean the difference between a minor repair and a total structural failure. When high winds or fallen debris impact the roofline, the internal skeletal structure of the attic—specifically the rafters and trusses—often bears the brunt of the kinetic energy. This immediate intervention is not intended to be a permanent fix but serves as a vital safeguard to prevent the collapse of the ceiling and to protect the interior living spaces from further environmental exposure. Understanding the nuances of emergency shoring allows residents to mitigate risks while waiting for professional contractors to arrive on-site for comprehensive restoration.
Assessing Structural Integrity After the Storm
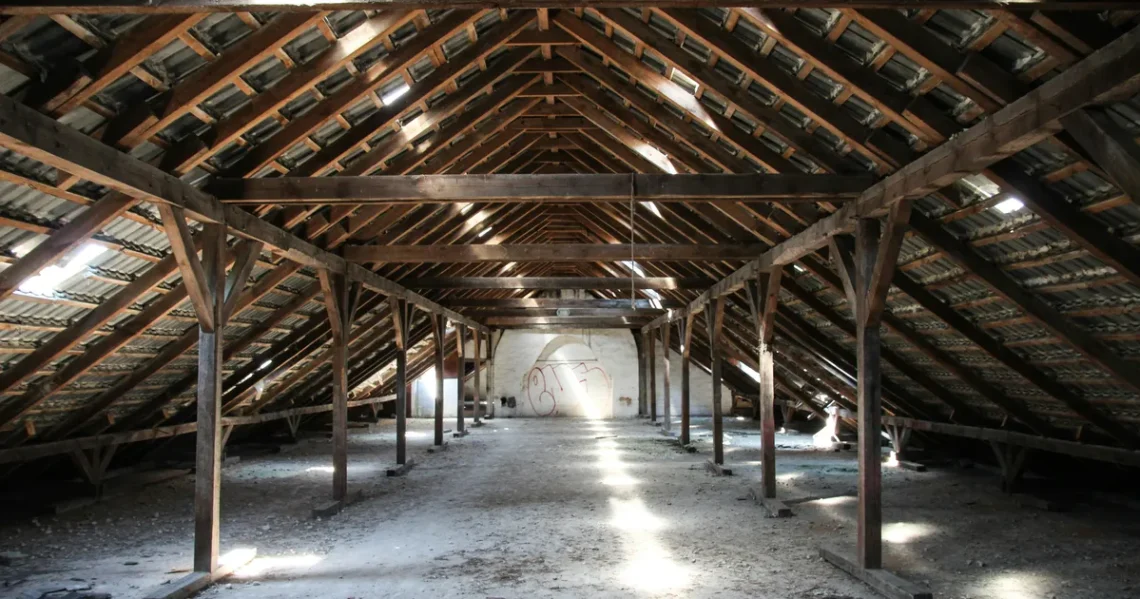
Before initiating any physical labor, a thorough visual inspection is necessary to identify which components of the attic require immediate attention. Homeowners should look for signs of sagging ridge boards, cracked rafters, or trusses that have pulled away from their connection points at the wall plates. It is essential to conduct this assessment using a high-powered flashlight, as subtle hairline fractures in the timber can be difficult to spot in the dim lighting typical of most attic spaces. If the roofline appears visibly dipped from the exterior, the internal pressure on the remaining supports is likely at a critical threshold, requiring extreme caution during the entry process to avoid triggering a localized collapse.
During this evaluation phase, it is also important to check for water intrusion that may have compromised the load-bearing capacity of the wood. Saturated timber is significantly heavier and more prone to “creeping” or bending under stress than dry wood. According to guidelines from the Federal Emergency Management Agency, documenting these vulnerabilities with photographs is a necessary step for future insurance claims. By identifying the specific points of failure, such as a split rafter or a displaced gusset plate, you can prioritize which areas require the most urgent temporary bracing. This systematic approach ensures that your reinforcement efforts are targeted and effective, rather than haphazardly applied to stable sections of the roof.
Essential Materials for Emergency Attic Shoring
Successful reinforcement requires high-quality materials that can withstand the immense tension and compression forces present in a damaged roof. The most common materials used for temporary bracing include kiln-dried 2×4 or 2×6 lumber, which provides the necessary rigidity without adding excessive weight to the already stressed structure. Additionally, CDX-grade plywood or oriented strand board (OSB) can be utilized to create gussets or to distribute weight across multiple ceiling joists. It is advisable to use structural wood screws rather than traditional nails, as screws offer superior withdrawal resistance and can be installed with less vibration, which is crucial when working around unstable or weakened structural members.
In addition to lumber, mechanical aids such as adjustable screw jacks or “shores” are invaluable for providing precise vertical support. These tools allow for the gradual application of upward pressure, which can help realign sagging members without causing secondary damage from sudden jolts. Heavy-duty ratchet straps can also be employed to pull spreading rafters back toward the ridge board, though this should be done with extreme care. Keeping a dedicated emergency kit stocked with these materials is becoming a standard practice for homeowners in 2026. Having the right fasteners, such as 3-inch deck screws and galvanized mending plates, ensures that the temporary patches remain secure against the vibrations of subsequent wind gusts or minor aftershocks.
Implementing Effective Vertical Support Systems
The primary goal of temporary attic reinforcement after storm damage is to transfer the load of the compromised roof down to the load-bearing walls of the house. To achieve this, vertical “T-posts” should be constructed by nailing two pieces of 2×4 lumber together in a T-shape. These posts are then placed directly under the sagging rafters or the ridge beam. It is vital that the base of these supports rests on a solid, load-bearing wall or a heavy beam, rather than directly on the ceiling drywall or between joists. Placing a “sill plate” of lumber across several joists can help distribute the weight more evenly, preventing the support post from punching through the floor of the attic.
When positioning these supports, the vertical member should be cut slightly longer than the distance between the floor and the rafter to ensure a “snug” fit. This is often referred to as a friction fit, though it should always be secured with screws to prevent the post from kicking out if the house shifts. The use of a plumb bob or a spirit level is necessary to ensure the post is perfectly vertical, as even a slight tilt can significantly reduce its load-bearing capacity. Once the vertical supports are in place, they act as a secondary skeleton, buying the homeowner time until a licensed structural engineer can assess the permanent repair needs and provide a long-term solution.
Sistering Damaged Rafters for Lateral Stability
Sistering is a technique where a new, identical piece of lumber is fastened directly alongside a damaged rafter to restore its strength. This is particularly effective for rafters that have suffered longitudinal splits or minor rot from water exposure. The new “sister” board should ideally extend at least three feet beyond the damaged section on both sides to ensure proper load transfer. Using a combination of construction adhesive and staggered structural screws creates a composite beam that is often stronger than the original member. This method is a staple of emergency reinforcement because it does not require the removal of the existing roof deck, making it a fast and efficient way to stabilize the attic from within.
Maintaining Safety Protocols During Reinforcement
Working in a damaged attic is inherently dangerous, and safety must remain the top priority throughout the reinforcement process. The most significant risk is a fall through the ceiling or a secondary collapse of the roof structure while you are underneath it. Always move across the attic by stepping only on the tops of the ceiling joists or by laying down “walk boards” made of 3/4-inch plywood to create a stable platform. It is also essential to wear personal protective equipment, including a hard hat, N95 respirator mask to avoid inhaling insulation fibers or mold spores, and heavy-duty gloves to protect against splinters and sharp debris. If the storm has caused electrical damage, ensure the power to the attic is shut off at the main breaker to prevent accidental electrocution from exposed wiring.
Another often overlooked safety factor is the heat and ventilation within the attic space. Storm damage often compromises the attic’s natural airflow, leading to rapid heat buildup that can cause heat exhaustion for anyone working inside. Furthermore, the presence of moisture can lead to the rapid growth of hazardous molds. According to the International Association of Certified Home Inspectors, maintaining a clear exit path and working with a partner who remains outside the attic are non-negotiable safety standards. If at any point you hear cracking sounds or notice the roof shifting, you must evacuate the space immediately. No amount of property preservation is worth the risk of physical injury or entrapment in a collapsing structure.
Weatherproofing the Exterior to Protect Interior Supports
Temporary reinforcement is only effective if the attic remains dry, as continued water intrusion will quickly weaken the new wooden supports and the existing structure. Once the internal bracing is secure, the next step is to address any breaches in the roof membrane from the outside, provided it is safe to do so. Utilizing heavy-duty polyethylene tarps is the most common method for temporary weatherproofing. These tarps should be draped over the ridge of the roof to prevent water from running underneath the top edge. Secure the tarps using “furring strips”—thin laths of wood—screwed through the tarp into the roof deck. Avoid using bricks or sandbags to hold down tarps, as these can slide off and cause injury or further damage during high winds.
For smaller punctures or shingle loss, roofing cement or specialized emergency sealants can be applied to prevent leaks. In 2026, many homeowners are using advanced synthetic underlayment patches that adhere directly to wet surfaces, providing a more reliable seal than traditional plastic sheeting. It is important to remember that these exterior patches are temporary and can be degraded by UV exposure over several weeks. Regularly monitoring the condition of the tarps and sealants after subsequent rain events is necessary to ensure the interior reinforcement remains protected. By keeping the attic dry, you prevent the wood from swelling and warping, which maintains the integrity of the temporary shoring and prevents the development of costly mold infestations.
Transitioning to Professional Structural Restoration
While the temporary attic reinforcement after storm damage provides immediate stability, it is not a substitute for a professional repair. Once the immediate danger of collapse has passed, the final step is to coordinate with a structural engineer and a licensed roofing contractor. These professionals will use specialized tools, such as thermal imaging and structural load software, to determine if the entire roof system needs replacement or if localized repairs are sufficient. In many cases, the temporary bracing you installed will need to remain in place until the permanent rafters or trusses are integrated into the structure. This transition period is also the time to review your insurance policy and ensure that the costs of the emergency mitigation are included in your claim.
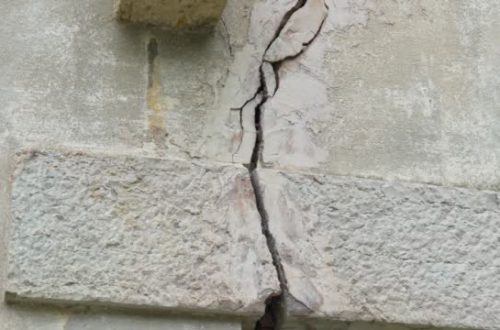
Hiring a qualified professional ensures that the final repairs meet the current building codes, which may have updated since your home was originally constructed. In 2026, many jurisdictions have implemented stricter requirements for hurricane ties and rafter-to-wall connections to combat increasing storm intensities. A professional contractor will also be able to identify hidden damage, such as hairline cracks in the masonry of the chimney or shifts in the foundation caused by the wind load on the roof. By moving from temporary shoring to a professional rebuild, you ensure the long-term safety and value of your home, turning a traumatic storm event into an opportunity to strengthen your property against future weather challenges.
Key Takeaways
- Identify structural failure points like sagging ridges or split rafters before starting any work.
- Use high-quality 2×4 lumber and structural screws for maximum withdrawal resistance and stability.
- Always place vertical support posts over load-bearing walls to ensure proper weight distribution.
- Wear full PPE, including N95 masks and hard hats, to protect against mold and falling debris.
- Apply exterior tarps using furring strips to prevent water from weakening temporary interior supports.
- Consult a structural engineer to transition from temporary bracing to permanent, code-compliant repairs.
Frequently Asked Questions
How long can temporary attic reinforcement after storm damage last?
Emergency reinforcement is typically designed to last between 30 and 90 days. While the materials themselves are durable, the environment of a damaged attic—often exposed to moisture and temperature fluctuations—can degrade the effectiveness of the shoring. It is essential to treat these measures as a bridge to professional repair rather than a long-term solution.
Is it safe to enter my attic if the roof is sagging significantly?
If there is visible sagging from the exterior or loud creaking noises, it may not be safe to enter. In such cases, the structural integrity is severely compromised, and the risk of collapse is high. You should wait for a professional assessment or use long-reach equipment to evaluate the damage from a safe distance before attempting any interior reinforcement.
Will my insurance cover the cost of temporary bracing materials?
Most standard homeowners’ insurance policies include a “reasonable repairs” clause, which covers the cost of materials and labor used to prevent further damage to the property after a loss. It is crucial to keep all receipts for lumber, hardware, and tarps, and to take photos of the reinforcement as evidence of your mitigation efforts.
Can I use adjustable floor jacks for attic support?
Yes, adjustable steel floor jacks (often called “tele-posts”) are excellent for attic reinforcement because they allow for precise height adjustments. However, you must ensure that both the top and bottom of the jack are secured to a wide wooden plate to distribute the concentrated load and prevent the jack from slipping or puncturing the structure.
What is the most common mistake made during emergency shoring?
The most frequent error is placing support posts on the “web” of the ceiling joists rather than over a load-bearing wall. This often results in the support post pushing through the ceiling of the room below. Always trace the path of the load down to the foundation to ensure the weight is being transferred to a part of the house capable of supporting it.
Conclusion
Navigating the aftermath of a severe weather event requires quick thinking and a methodical approach to safety. Implementing temporary attic reinforcement after storm damage is a vital skill for the modern homeowner in 2026, providing a necessary layer of protection against structural failure and further property loss. By identifying vulnerabilities, using the correct materials, and adhering to strict safety protocols, you can stabilize your home and buy the time needed for a professional restoration. Ultimately, these emergency measures serve as the first step in a comprehensive recovery process, ensuring that your home remains a safe and secure environment for years to come.
- Property Damage Recovery After Water Exposure: An Essential Planning Guide
- How to Remove Trapped Moisture From Wooden Flooring: A Step-by-Step Guide
- DIY Emergency Cabinet Hinge Repair: Fix It Fast At Home
- Best Tools Every DIY Home Repair Beginner Should Own
- Electrical Safety: How to Isolate a Dead Circuit Before Troubleshooting